Configuration Details:
Database: Oracle DB 19.0.0.0 EE 64 Bit
Operating System: Redhat Enterprise Linux 7.9 64 Bit
Single Instance/RAC: Single Instance
Step 1: Prerequisites to be checked before starting Oracle Database Software 19c installation.
1) Am I downloading Oracle DB software of correct version?
2) Is my database certified on current Operating System ?
The following Linux x86-64 kernels are supported:
- Oracle Linux 8.1 with the Unbreakable Enterprise Kernel 6: 5.4.17-2011.0.7.el8uek.x86_64 or later
- Oracle Linux 8 with the Red Hat Compatible kernel: 4.18.0-80.el8.x86_64 or later
- Oracle Linux 7.4 with the Unbreakable Enterprise Kernel 4: 4.1.12-124.19.2.el7uek.x86_64 or later
- Oracle Linux 7.4 with the Unbreakable Enterprise Kernel 5: 4.14.35-1818.1.6.el7uek.x86_64 or later
- Oracle Linux 7.7 with the Unbreakable Enterprise Kernel 6: 5.4.17-2011.4.4.el7uek.x86_64 or later
- Oracle Linux 7.5 with the Red Hat Compatible Kernel: 3.10.0-862.11.6.el7.x86_64 or later
- Red Hat Enterprise Linux 8: 4.18.0-80.el8.x86_64 or later
- Red Hat Enterprise Linux 7.5: 3.10.0-862.11.6.el7.x86_64 or later
- SUSE Linux Enterprise Server 15: 4.12.14-23-default or later
- SUSE Linux Enterprise Server 12 SP3: 4.4.162-94.72-default or later
3) What is my database software architecture i.e. 32 bit or 64 bit ?
4) What is my Operating System architecture i.e. 32 bit or 64 bit ?
5) Are Database and Operating System from same architecture ?
6) Oracle Universal Installer requires Oracle Universal Installer requires at least 1024 x 768 display resolution.
7) Minimum required RAM is:
- At least 1 GB RAM for Oracle Database installations. 2 GB RAM recommended.
- At least 8 GB RAM for Oracle Grid Infrastructure installations
You can add more resources later as per requirement.
8) Oracle recommends that you disable Transparent HugePages and use standard HugePages for enhanced performance.
9) Use Oracle Database Pre-installation RPM to simplify operating system configuration in preparation for Oracle software installations. If you install the Oracle Database Pre-installation RPM, oracle-database-preinstall-19c, then you do not have to install these packages, as the Oracle Database Pre-installation RPM automatically installs them.
- bc
- binutils
- compat-libcap1
- compat-libstdc++-33
- elfutils-libelf
- elfutils-libelf-devel
- fontconfig-devel
- glibc
- glibc-devel
- ksh
- libaio
- libaio-devel
- libXrender
- libXrender-devel
- libX11
- libXau
- libXi
- libXtst
- libgcc
- libstdc++
- libstdc++-devel
- libxcb
- make
- policycoreutils
- policycoreutils-python
- smartmontools
- sysstat
10) At least 1 GB of space in the /tmp directory.
11) Swap space allocation relative to RAM:
- Between 1 GB and 2 GB: 1.5 times the size of the RAM
- Between 2 GB and 16 GB: Equal to the size of the RAM
- More than 16 GB: 16 GB
Note: If you enable HugePages for your Linux servers, then you should deduct the memory allocated to HugePages from the available RAM before calculating swap space.
12) Minimum local disk storage space for Oracle software for Linux x86-64:
- At least 6.5 GB for an Oracle Grid Infrastructure for a standalone server installation.
- At least 7.2 GB for Oracle Database Enterprise Edition.
- At least 7.2 GB for Oracle Database Standard Edition 2.
Step 2: Check whether Oracle database is certified on Linux 7.9 64 bit or not and download Oracle database 19c from Oracle site.


Step 3: Server readiness before starting installation.Ensure below kernel and limits parameters are set in respective files on Linux server.
[root@primary ~]# vi /etc/sysctl.conffs.file-max = 6815744
kernel.sem = 250 32000 100 128
kernel.shmmni = 4096
kernel.shmall = 17179869184
kernel.shmmax = 17179869184
kernel.panic_on_oops = 1
net.core.rmem_default = 262144
net.core.rmem_max = 4194304
net.core.wmem_default = 262144
net.core.wmem_max = 1048576
fs.aio-max-nr = 1048576
net.ipv4.ip_local_port_range = 9000 65500
[root@primary ~]# sysctl -p
[root@primary ~]# vi /etc/security/limits.conf
oracle soft nofile 1024
oracle hard nofile 65536
oracle soft nproc 16384
oracle hard nproc 16384
oracle soft stack 10240
oracle hard stack 32768
Ensure below user and groups are created.
#useradd oracle
#passwd oracle
#groupadd oinstall
#groupadd dba
-- Assign oinstall as primary group and dba as secondary group for oracle user.
#usermod -g oinstall -G dba oracle
Ensure below directories are created.
- ORACLE_BASE
- ORACLE_HOME ---> Not needed since installer will automatically create HOME directory based on BASE.
- Inventory
#mkdir -p /u01/app/oracle/product/19.0.0/dbhome_1
#mkdir -p /u01/app/oraInventory
#chmod -R 755 /u01
#chown -R oracle:oinstall /u01
#ls -ld /u01/app/oracle/product/19.0.0/dbhome_1
#ls -ld /u01/app/oraInventory
Copy downloaded setup file to ORACLE_HOME location i.e. /u01/app/oracle/product/19.0.0/dbhome_1
Step 4: Login as oracle user, unzip the setup file, and start the installation.
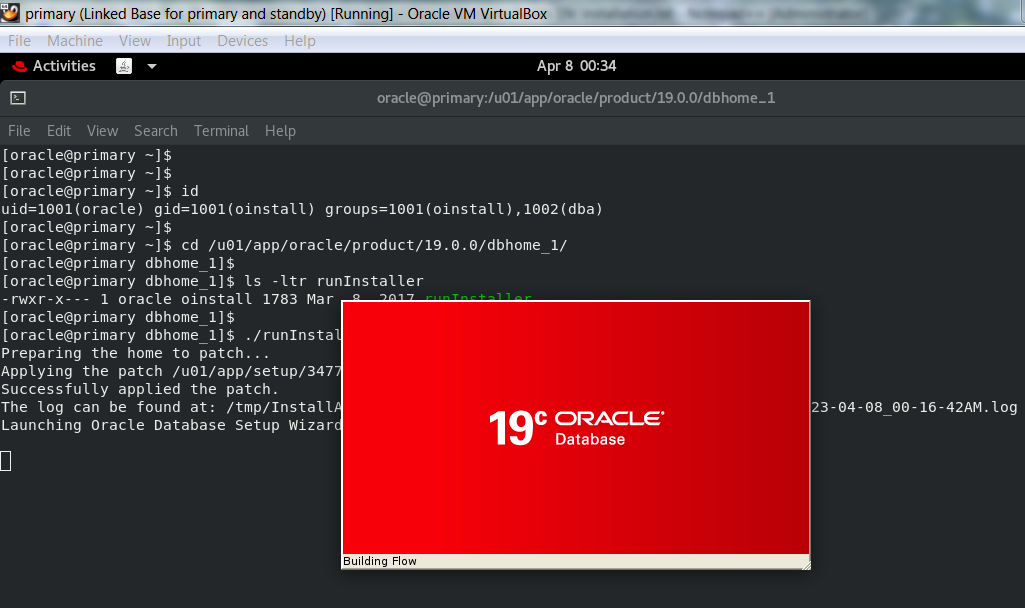
As best practices, apply patch before proceeding with installation. You can refer below screenshot for the command to apply latest RU/RUR patch.

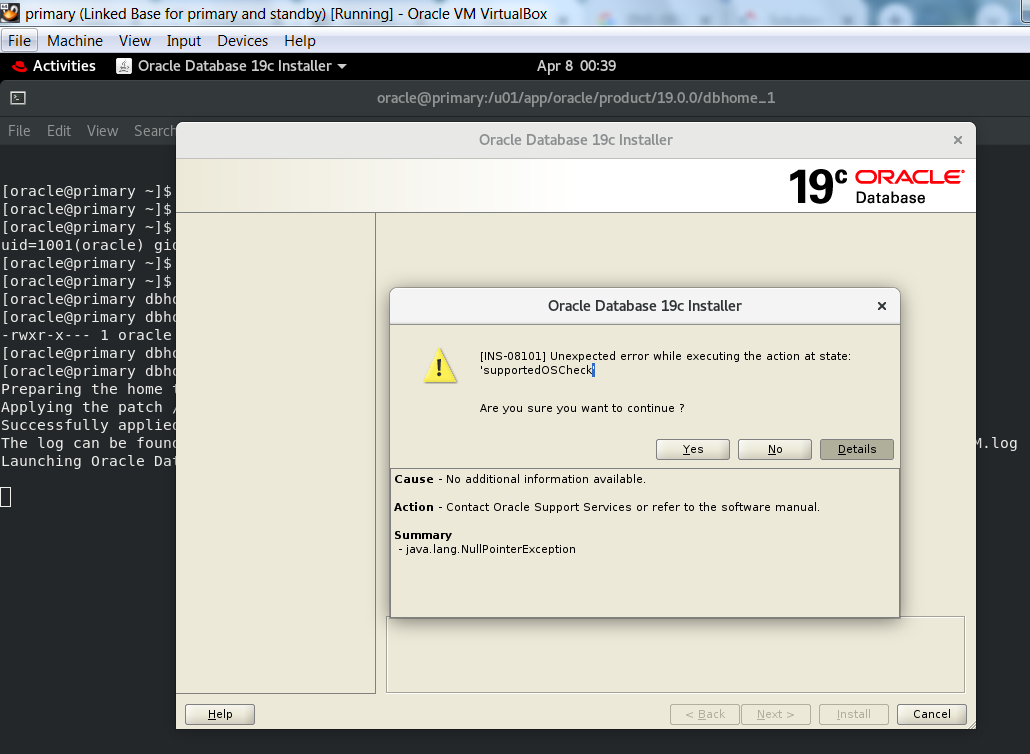
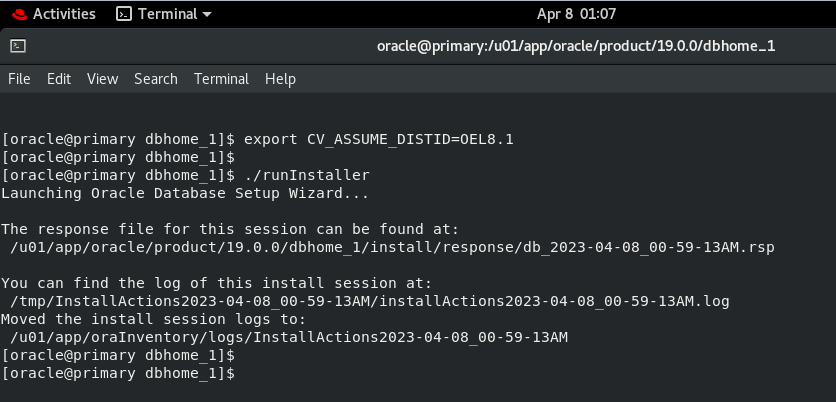
If you face below error message then export the below variable and proceed ahead.
#export CV_ASSUME_DISTID=OEL8.1
If you want to install software and configure database both at the same time, you can use 1st option "Create and configure a single instance database". If you want to just install software only then you can select 2nd option "Set Up Software Only" option. Here, I am using 2nd option.
If you want to install RAC software then select 2nd option. The 1st option is for standalone or single instance database installation.
Select ORACLE_BASE location.
Select Inventory location i.e. /u01/app/oraInventory and the group should be the primary group i.e. in case it is oinstall. Group members should have write permissions to the Inventory directory.
Ensure all configuration parameters are correct. You can refer below screen to check the same.
The final step is to execute oraInstroot.sh and root.sh scripts. Below screen will be appeared. Open the new terminal as login as a root user and execute these scripts. Once it is done then click OK to continue.
Software Installation task is completed now. You can go ahead with database creation activity.
For database creation activity, login as oracle user and go to the $ORACLE_HOME/bin directory.
$cd /u01/app/oracle/product/19.0.0/dbhome_1/bin
Select "Create a database" option.
You can select "Typical configuration" or "Advanced Configuration" option.
Select "Oracle Single Instance database" option. You can select "Real Application Cluster" option in case of RAC Database creation.
Here, you can give database name. Note that global database name is different than SID. Global database name is the combination of SID and domain name. I.e. If your domain name is test.com and database name is PR then Global Database name would be PR.test.com
Here, I am using both global and SID name is same. If you want to keep both as different then you can do that.
Container database is not mandatory and hence you can uncheck the box if container is not required.
Select database storage location. Here, I am using file system where data, control, redo, and temp files will be stored. The default location would be $ORACLE_BASE/oradata/DB_UNIQUE_NAME
If you want to multiplex redo logs and control file then click on "Multiplex redo logs and control file" option.
You can set recovery area for the database or you can configure it later also.
Enable archive log mode or you can enable it later also.
You can also configure Listener during installation or can be created later.
You can configure Database Vault or Label Security during installation or later.
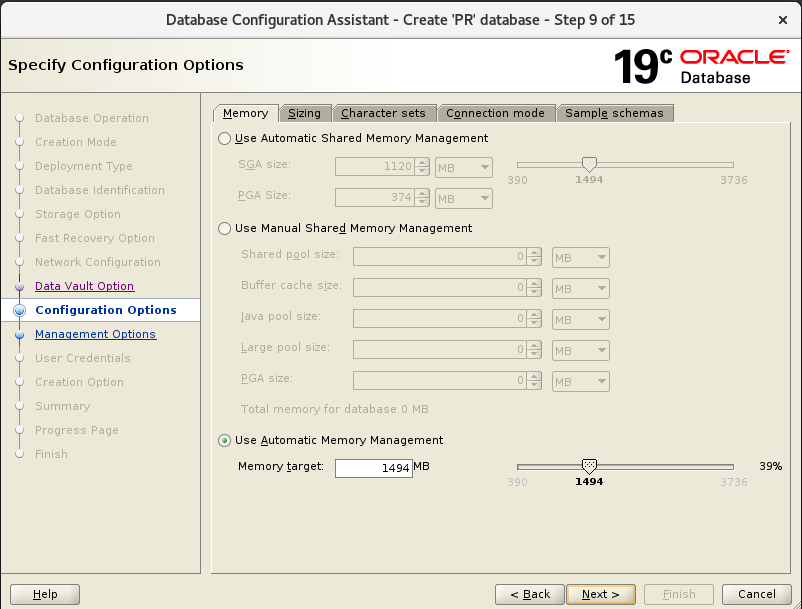
Configure memory parameters for the database instance.
Also, set character sets.
Uncheck sample schemas if not required.
Specify the management options for the database. You can uncheck these options if not required.
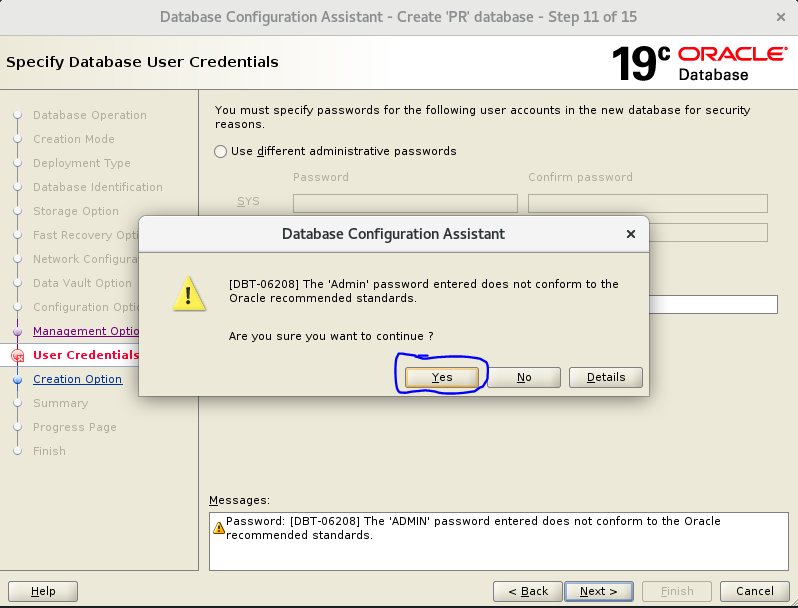
Set same password for both SYS and SYSTEM user or you can set different password for both the users.
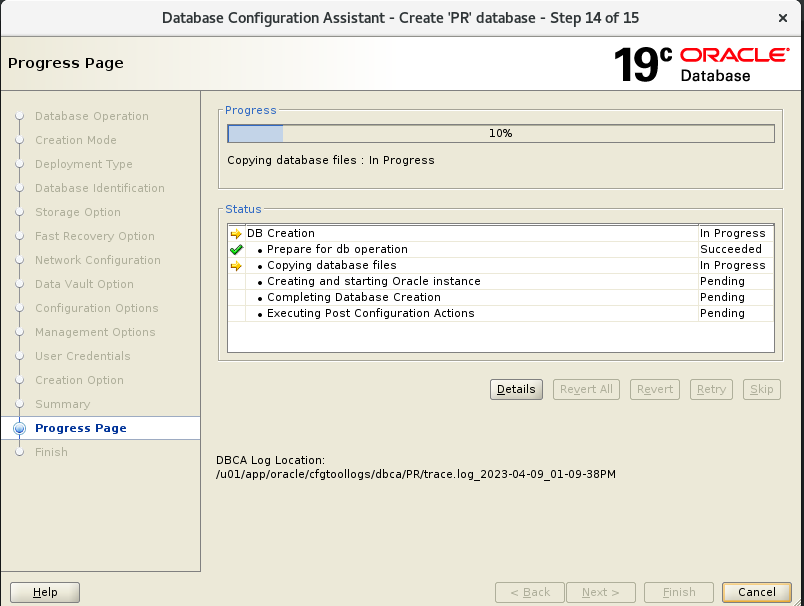
You can verify the configuration parameters and click finish to continue.
Specify You can click on "Password Management" and set password for any user if required. If not then click OK and CLOSE to finish the setup.
Login as oracle user and connect the database instance and check the database status.
Thanks for reading this post ! Please comment if you like this post ! Click on FOLLOW to get next blog updates !














Very Useful
ReplyDeleteWell detailed
ReplyDeleteThank you for the information.
ReplyDelete